Quick Setup
Create Your Account
Visit the Registration Page and sign up using Google, GitHub, or your email address. Account creation is free and provides immediate access to your dashboard.
Complete Onboarding
Select options that match your use case during the setup process. This helps ZenRows recommend the most suitable features for your scraping needs
Your First Request
Test your ZenRows setup with this simple request:YOUR_ZENROWS_API_KEY with your actual API key from the dashboard. A successful response confirms your setup is working correctly.
Next Steps
Choose your ZenRows solution
Select the approach that best fits your scraping requirements and technical expertise:Universal Scraper API
Best for: General web scraping with automatic optimization
Scraping Browser
Best for: Complex automation requiring complete browser control
Residential Proxies
Best for: High-quality proxies with existing infrastructure
Platform Integrations
Best for: No-code solutions and workflow automation
MCP Integration
Best for: AI-powered assistance in your code editor
Learn web scraping fundamentals
Build your knowledge with comprehensive guides and best practices:- Web Scraping Best Practices - Essential techniques for reliable data collection, rate limiting strategies, and ethical scraping guidelines.
- Complete Python Web Scraping Tutorial - Step-by-step implementation guide covering BeautifulSoup, requests, and data processing.
- Web Scraping Use Cases Guide - Real-world applications including price monitoring, lead generation, market research, and competitive analysis.
- Handling JavaScript-Heavy Websites - Advanced techniques for single-page applications and dynamic content.
- E-commerce Data Collection - Strategies for product information, pricing, and inventory tracking.
Scale your operations
As your scraping needs grow, explore advanced features and optimization strategies:- Concurrent requests: Optimize performance by running multiple requests simultaneously
- Data storage: Choose appropriate databases and storage solutions for your collected data
- Automation: Set up scheduled scraping jobs for regular data collection
- Data processing: Implement pipelines for cleaning, validating, and analyzing scraped data
- Monitoring: Track success rates, identify patterns, and optimize your scraping strategy
Get help when you need it
Access support resources and community knowledge:- FAQs - Find answers to common questions about API limits, billing, and technical issues
- Troubleshooting Guides - Resolve specific problems with blocked requests, parsing errors, and configuration issues
- Support - Contact our team for personalized assistance with complex scraping challenges
- Community - Join our Discord server to connect with other developers and share scraping strategies
- Documentation - Explore detailed guides for advanced features and specific use cases
Why Choose ZenRows?
ZenRows solves the most challenging aspects of web scraping through automated solutions: Anti-bot bypass & proxy rotation: Detects and bypasses Cloudflare, reCAPTCHA, Akamai, Datadome, and other blocking mechanisms. Automatically switches between residential IPs across 190+ countries while rotating browser fingerprints to maintain access. JavaScript rendering: Uses real browser engines to handle dynamic content, infinite scroll, and lazy-loaded elements that traditional HTTP requests cannot capture. Adaptive infrastructure: Includes automatic retry mechanisms when requests fail, real-time analytics for monitoring performance, and maintains 99.9% uptime. Auto-parsing features: Adapts automatically to structural changes on supported websites, reducing maintenance overhead. You can start scraping immediately without technical expertise in proxy management or anti-detection techniques.Common Scraping Challenges
If you’re new to web scraping, understanding these common challenges helps explain why ZenRows provides value and how it solves problems you might encounter with traditional scraping approaches: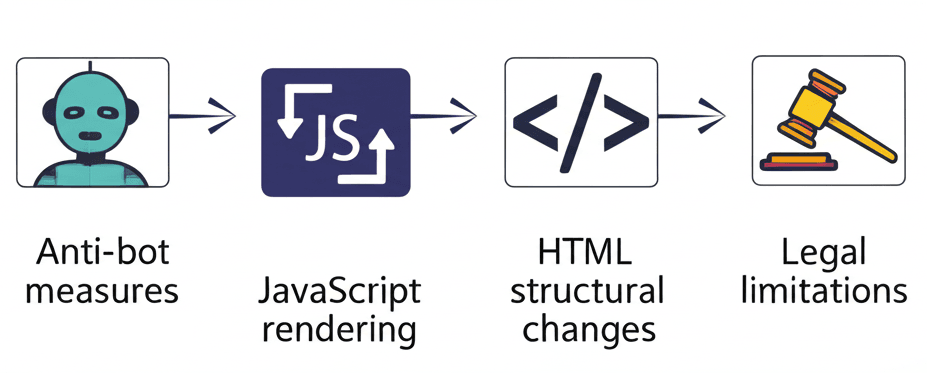
Anti-Bot Measures
Websites deploy various blocking mechanisms to prevent scraping, such as:- Web application firewalls (e.g., Cloudflare, Datadome, Akamai).
- CAPTCHA services that require solving puzzles to verify human activity.
- Rate limiting restricts the number of requests from a single IP address within a given time.
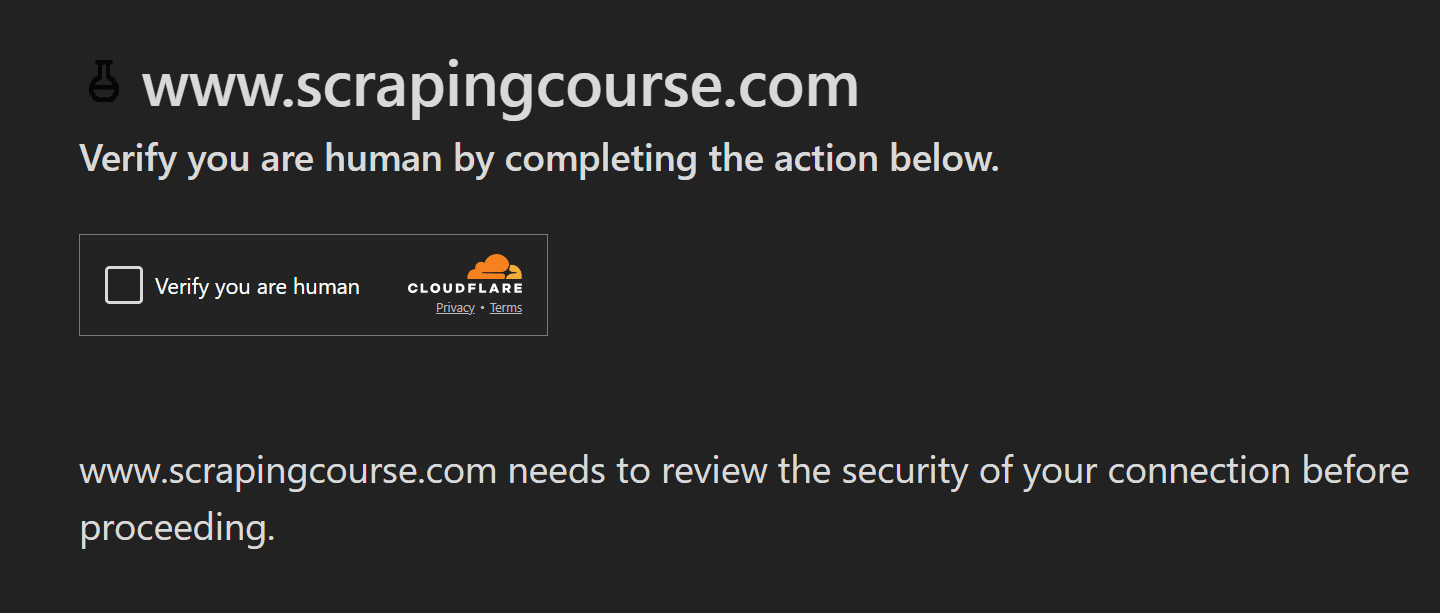 Overcoming these measures often requires advanced techniques like CAPTCHA-solving services, IP rotation, and adapting to specific firewall rules.
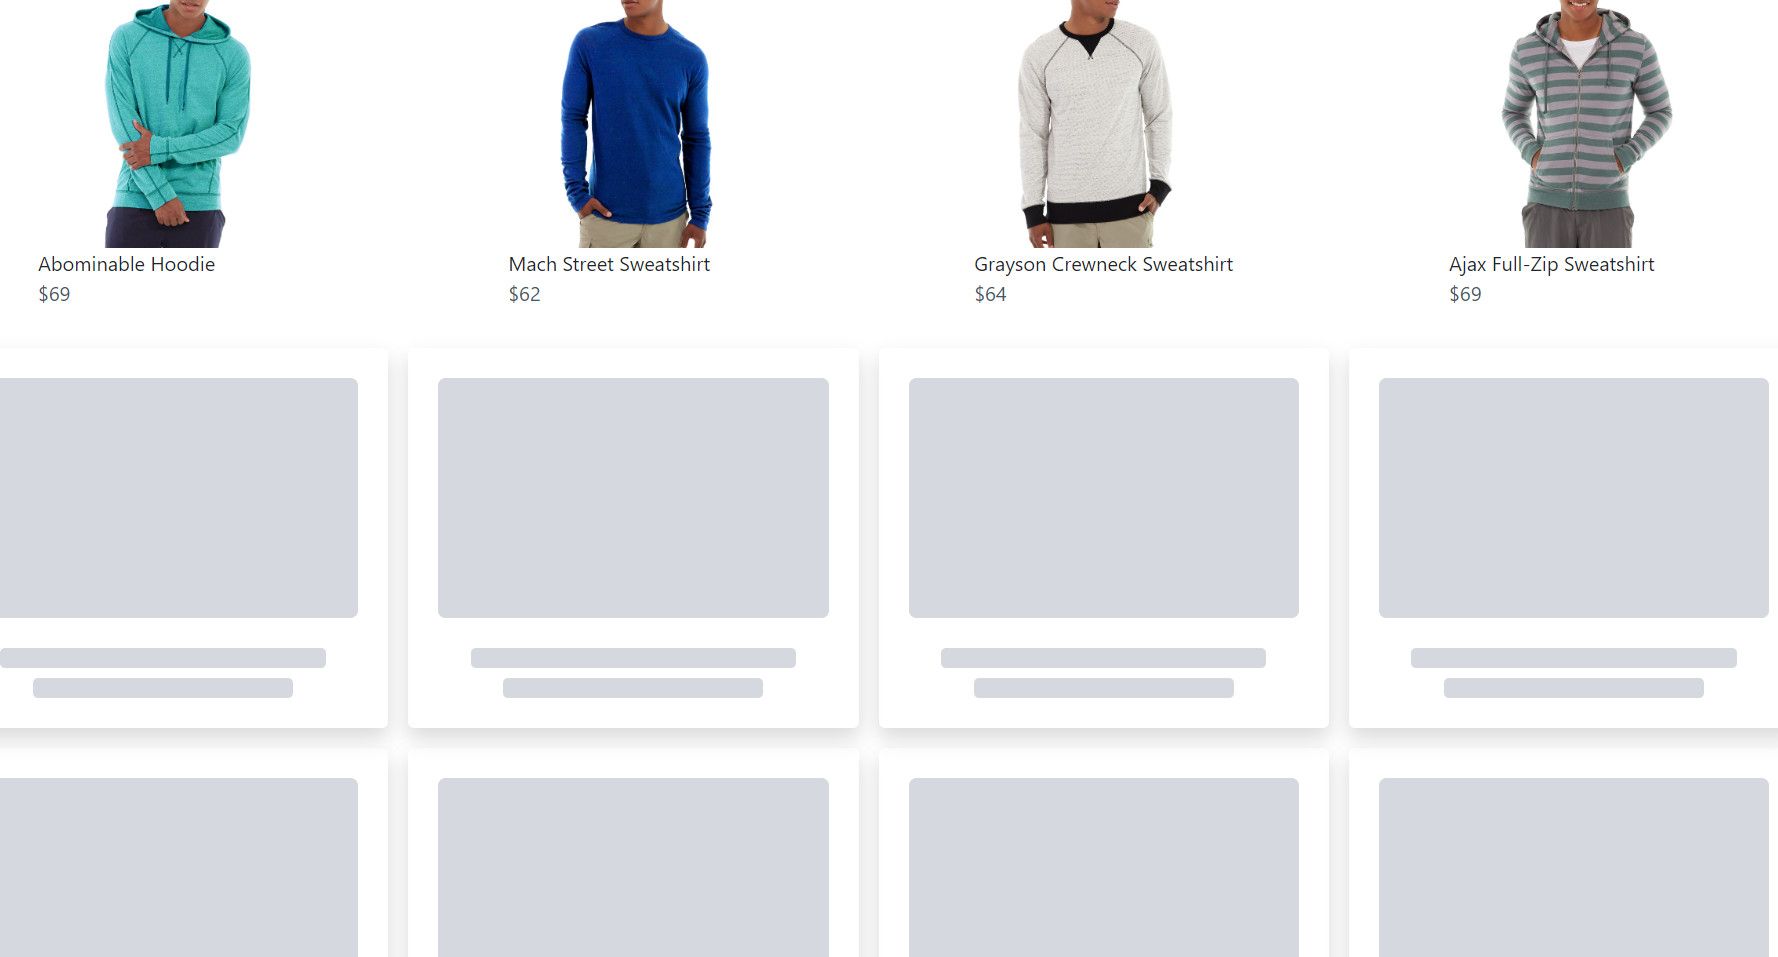
JavaScript Rendering
Many modern websites dynamically render content using JavaScript, which prevents data from loading immediately when the page is opened. For example:- Dynamic content that appears only after JavaScript execution completes.
- Infinite scrolling websites only display initial content, loading more as users scroll.
- “Load more” buttons that reveal additional content through user interaction.
HTML Structural Changes
Websites frequently update page designs, layouts, and HTML structures to introduce new features or improve user experience. These changes often include:- Modifications to CSS selectors or HTML attribute names.
- Adjustments to the overall structure of the page.
Legal Considerations
Scraping activities must comply with legal and ethical guidelines:- Website terms of service that prohibit scraping certain types of data, especially sensitive or restricted information.
- Data behind login walls or private details is often protected by law and requires explicit authorization to access.
- Adhering to rules specified in a site’s
robots.txtfile, which defines areas where bots are not allowed.
Frequently Asked Questions (FAQ)
Do I need technical experience to use ZenRows?
Do I need technical experience to use ZenRows?
No technical expertise in proxy management or anti-detection techniques is required. ZenRows handles all the complex infrastructure automatically. If you can make HTTP requests, you can use ZenRows.
Can I test ZenRows before committing to a paid plan?
Can I test ZenRows before committing to a paid plan?
Yes, every new account includes a free trial period to test our services. You can make requests immediately after signing up to evaluate ZenRows with your target websites.
How do I know if I need JavaScript rendering enabled?
How do I know if I need JavaScript rendering enabled?
Enable JavaScript rendering (
js_render=true) when scraping websites that load content dynamically, have infinite scroll, use “Load More” buttons, or are single-page applications (SPAs) built with React, Vue, or Angular.Is my API key secure and how should I handle it?
Is my API key secure and how should I handle it?
Your API key is unique to your account and should be kept secure. Never share it publicly or commit it to version control. Use environment variables in your code and regenerate your key if you suspect it’s been compromised.
How do I switch between different ZenRows products?
How do I switch between different ZenRows products?
Each ZenRows product has its own endpoint and documentation. You can use multiple products with the same API key. Simply change the endpoint URL and parameters based on which product you want to use for each request.
What programming languages can I use with ZenRows?
What programming languages can I use with ZenRows?
ZenRows works with any programming language that can make HTTP requests. We provide code examples for Python, JavaScript/Node.js, Java, PHP, Go, Ruby, and cURL. The API is language-agnostic and follows standard REST principles.
How do I monitor my usage and remaining usage?
How do I monitor my usage and remaining usage?
Log into your ZenRows dashboard to view real-time usage statistics, remaining usage, success rates, and request history. You can also set up usage alerts to notify you when approaching your plan limits.