Initial Setup
To get started with the Residential Proxies, follow these steps:Sign Up for ZenRows®
To begin, you’ll need to create a ZenRows account. Visit the Registration Page to sign up. If you already have an account, simply log in to access your dashboard.
(Optional) Create Credentials for Residential Proxies
A credentials pair (user and password) will be created for you automatically, this step is not mandatory.
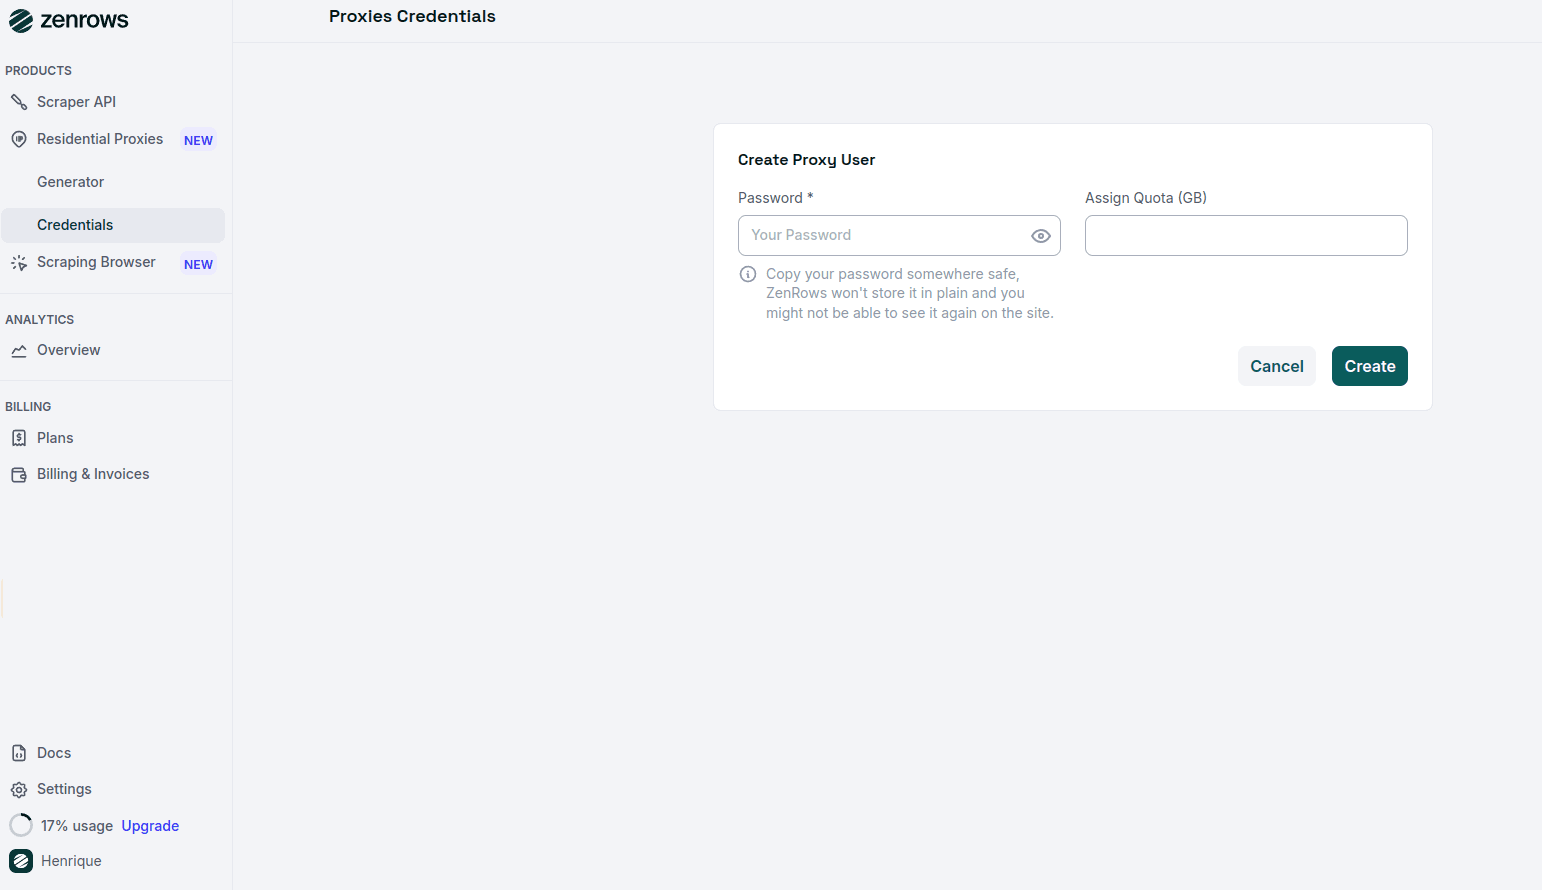
Verify Credentials and Configure Your Proxies
After generating your credentials, you’ll be taken to the Generator Page, where your credentials (username, password, and various configuration options) will be displayed.You can copy the Proxy URL and start integrating it into your applications.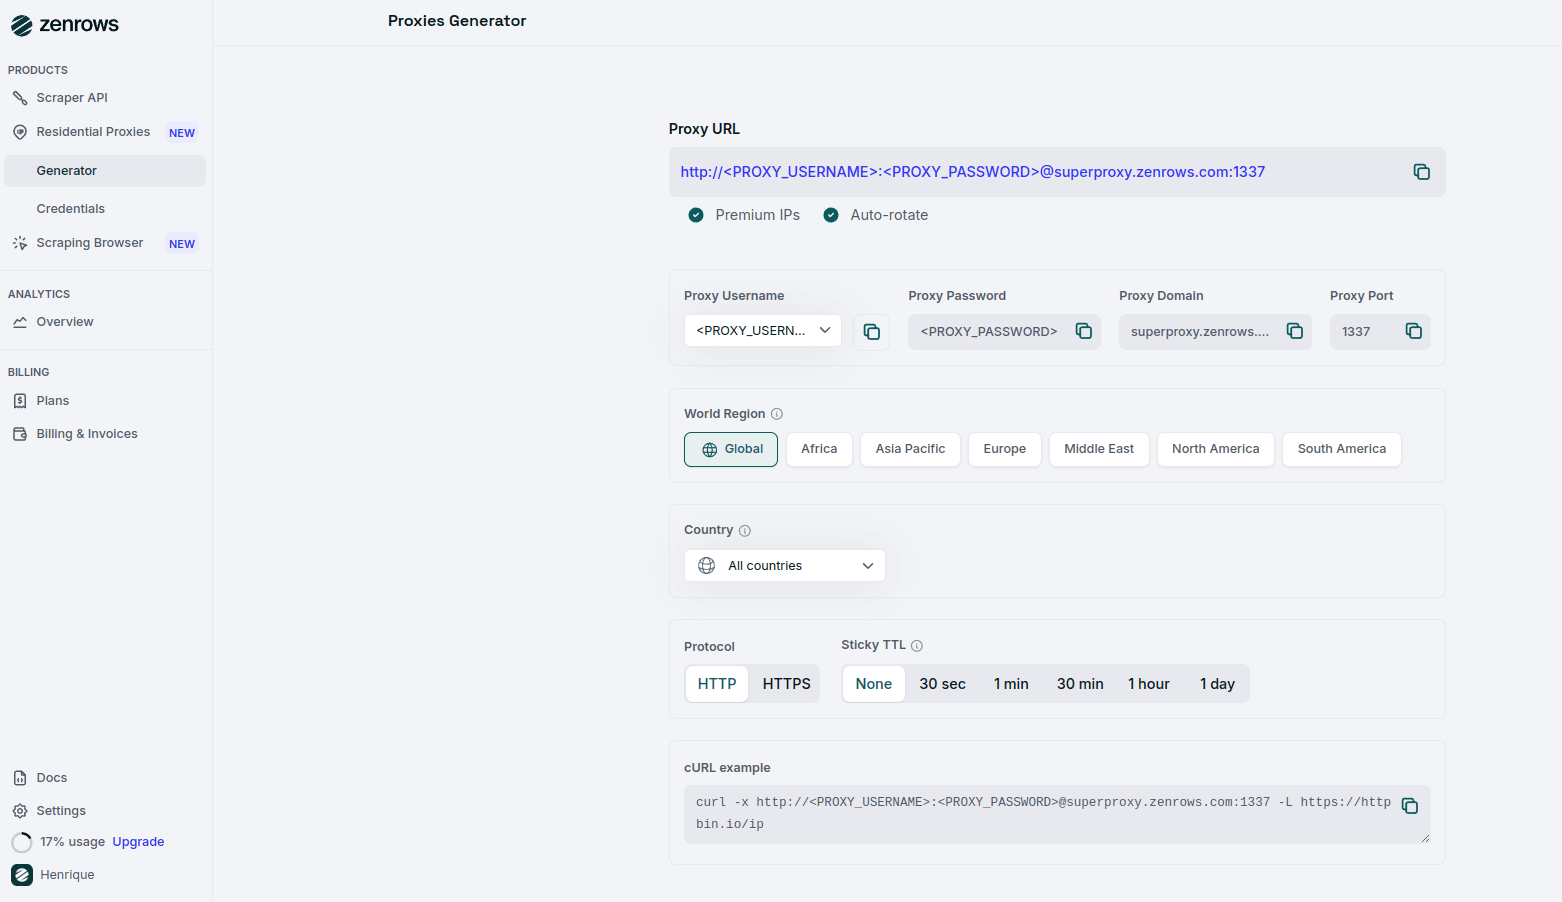
Proxy Configuration Options
ZenRows Residential Proxies are designed to be functional right out of the box. With auto-rotation and residential IPs pre-configured, you can start using them immediately by copying the Proxy URL. However, we also provide additional customization options to help tailor the proxies to your use case.Auto-rotate and Residential IPs are enabled by default for all users.
Username and Password
To make proxy management easier, you can switch between usernames directly in the dashboard. Simply select the desired username, and the proxy URL will automatically update with the corresponding username and password. Note that the domain and port will remain the same.